Today I was able to colour my donut and modify the textures and lighting to something a bit more realistic. I followed the next part in Blender Guru’s tutorial series to do this.
I learned a lot about texture today, and how texture typically works in 3D modelling. For the countertop that would hold my donut, I downloaded a texture from a 3D modelling reference website called Poliigon. This site was designed by Blender Guru and is a massive library for textures, models, and other 3D modelling assets. The resources here are available for use by 3D artists and animators and they are designed to match the industry standard. Many resources here are locked behind a paywall but there is a fairly massive free library available for use. While textures can be found on Google Images and other websites, they are usually consolidated into a single image. The textures available on Poliigon have multiple layers that are more designed for 3D modelling than flat images, which are typically used for 2D art and websites. Below, I’ll go into some detail about the texture I downloaded.
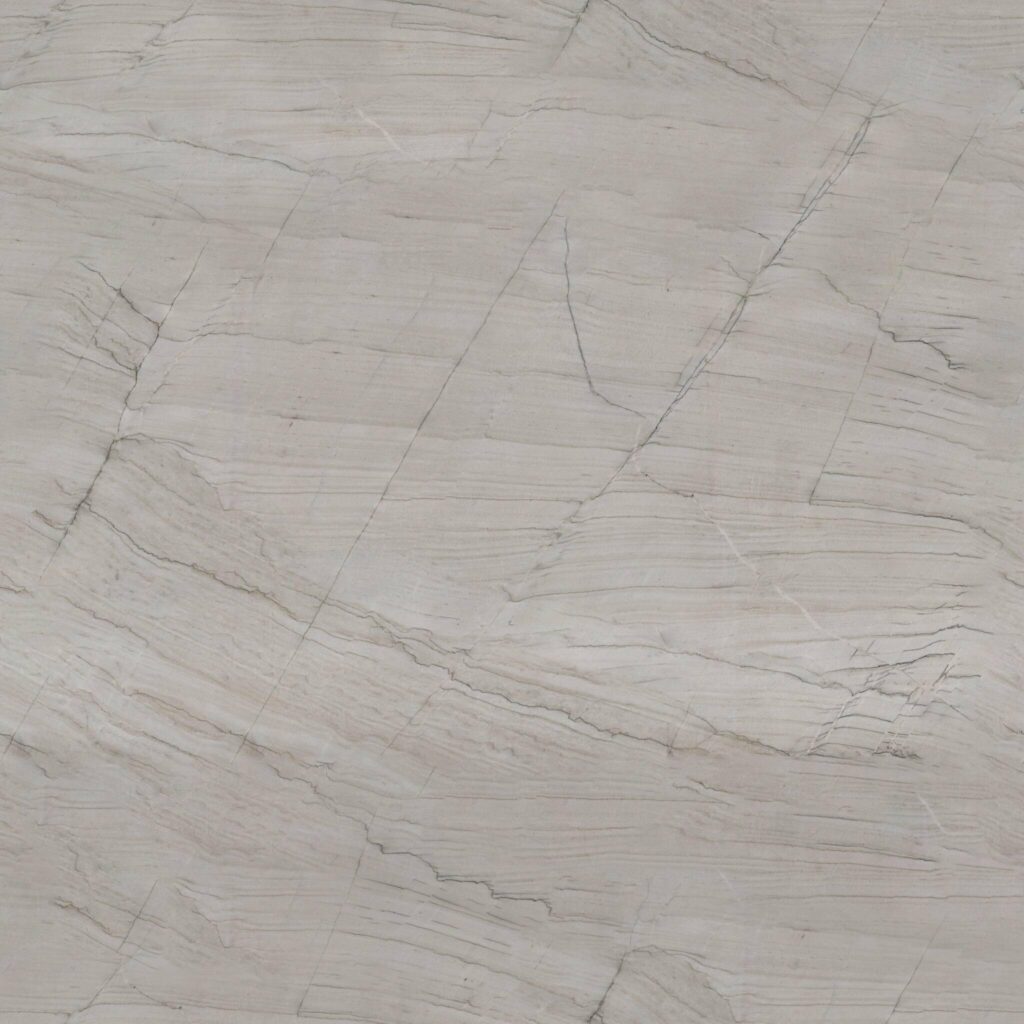
The texture I downloaded as part of the tutorial, for my countertop, was called “Denali Polished Quartzite Stone Texture, Gray” which downloaded as a .zip file and came with 5 layers.

From left to right, the layers are as follows: Base colour (main texture), displacement, metallic sheen, bump map, and roughness. All of these textures, while all five don’t particularly need to be used at the same time, combine to make a marble countertop texture that properly reflects light and has subtle chips, dents, scratches, and fingerprints on its surface.
If I wanted to modify any of my texture, such as roughness or lighting, I can use the texture nodes available in the shading window.

I also learned how to make my own textures by adding a material to what I want to texture and then hitting “new” instead of “open” which would allow me to import a downloaded texture. In a new window, I selected a brush type and could draw directly on the donut. I drew the lighter line that would go across the centre of the donut (from when it bakes in real life and is not as dark as the top and bottom of it). Below is my created texture and the final result of the day’s progress.


I’ll also link the video tutorial I used in these stages for reference.