Today I was able to add long sprinkles to my Blender donut! Once again, this was not a simple a task as it seemed it would be. I started by creating a cylinder mesh, which is pretty standard by now as it’s just hitting Shift+A and selecting the option in a drop-down menu, but I then learned how to bevel it to remove the unrealistic, sharper edges. Selecting the top and bottom faces in Edit Mode, I hit Ctrl+B to round out the edges of my sprinkle. I then duplicated it (Shift+D) three times to create a shorter one, a longer one, and a curved one. The curved one was a bit more complicated as I had to add a deform modifier to the cylinder and bend it to the degree I wanted. In this process, I also learned how to move the origin point of each object to their centre (which makes the object rotate around it’s centre rather than above or below it, which Blender Guru says is basically the shape’s “centre of mass”). Below, I’ve included a picture of my sprinkles before being added to my donut!

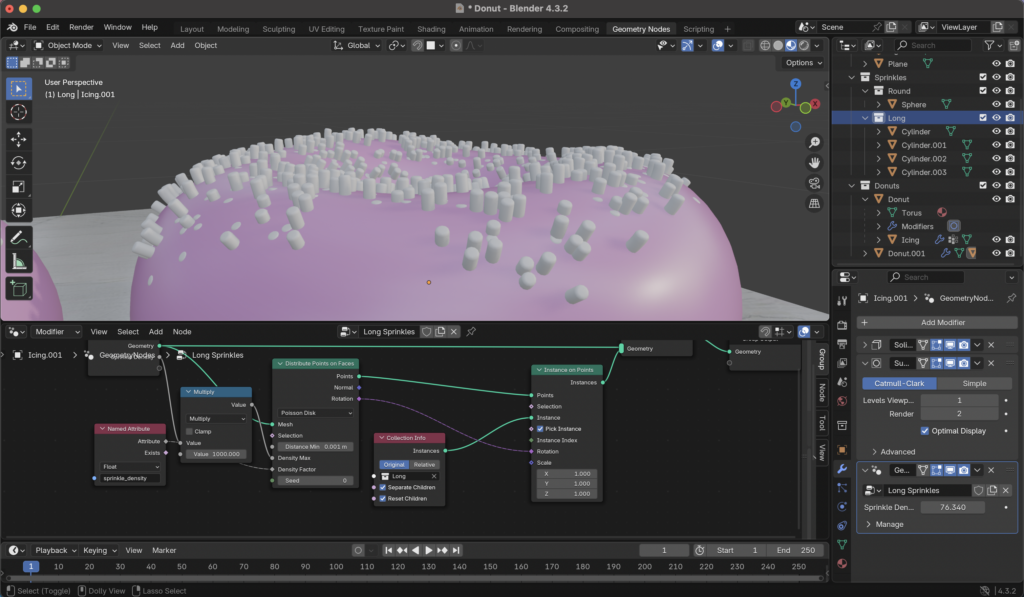
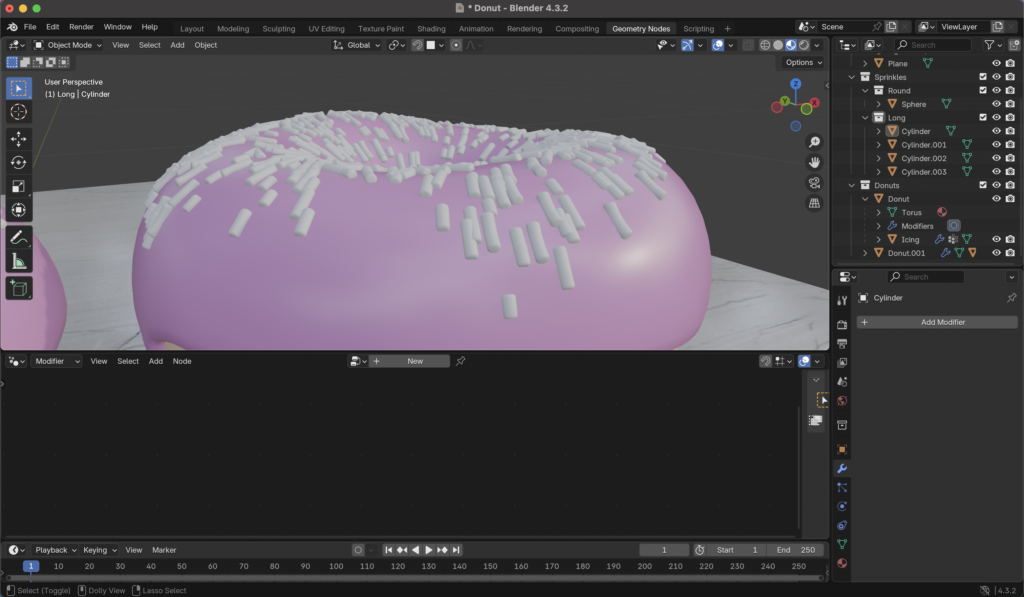
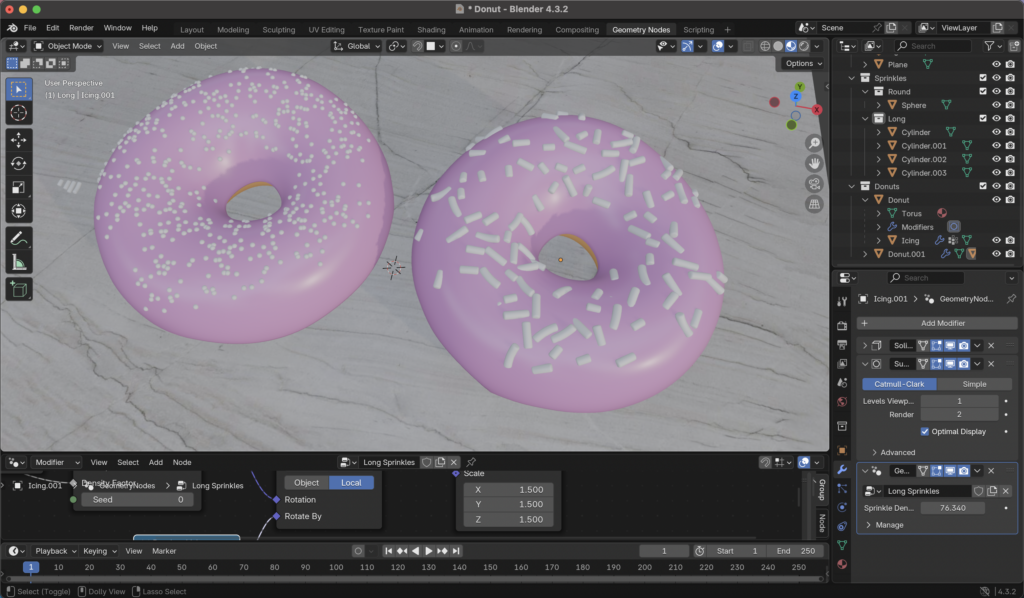
Actually applying the long sprinkles to the donut was an… interesting process. I’ve documented my progress below with screenshots to show you each state of the sprinkles on the donut, which I found kind of entertaining.
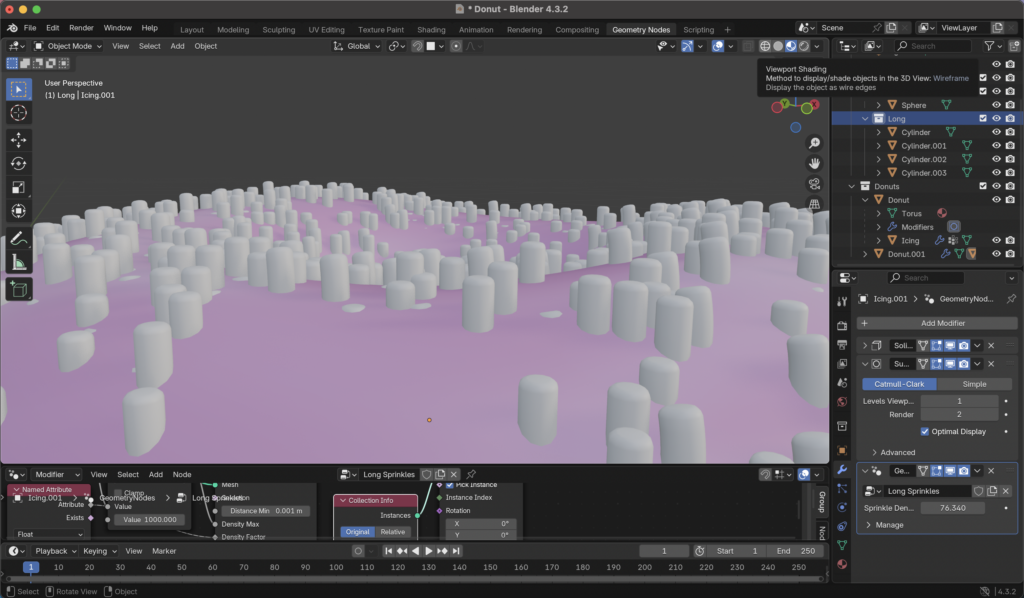
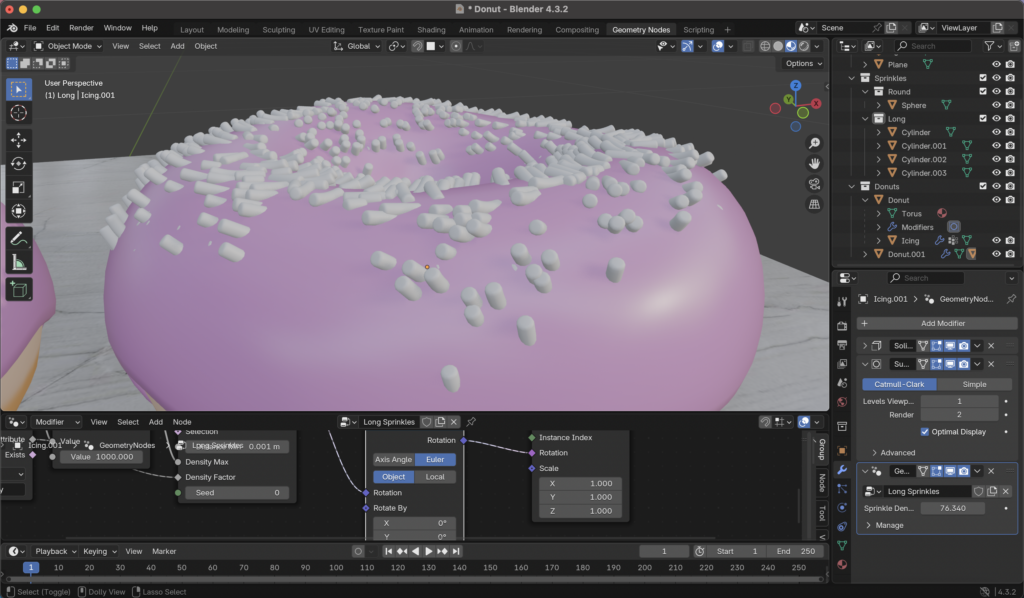
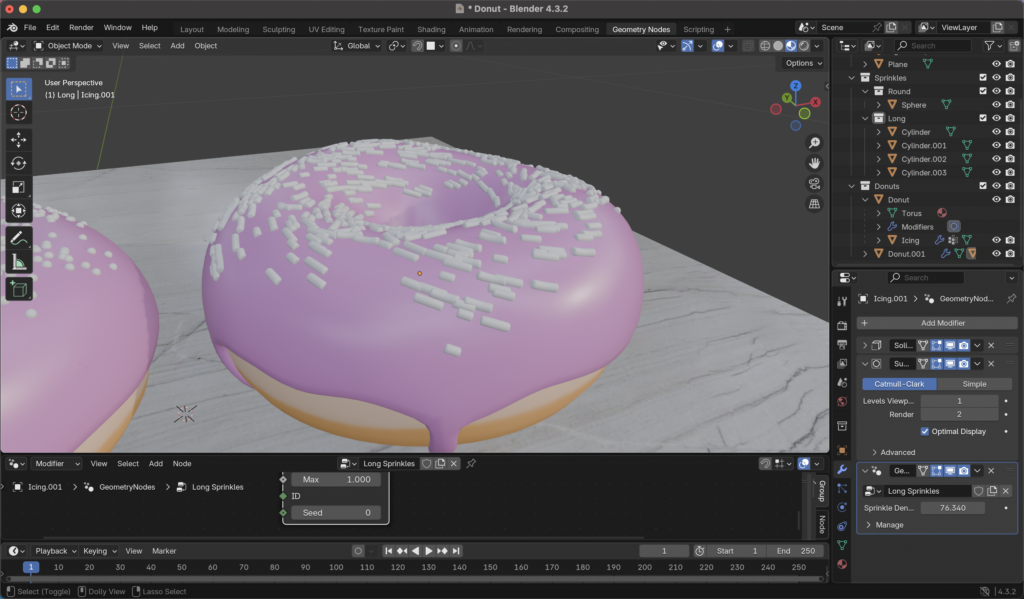
After adding a node allowing for randomized rotation, I made the sprinkles slightly bigger and ensured the minimum distance from each one was also slightly bigger due to this size increase. Finally, I ended up with this:
Below is the linked video that I used for this part of the tutorial!