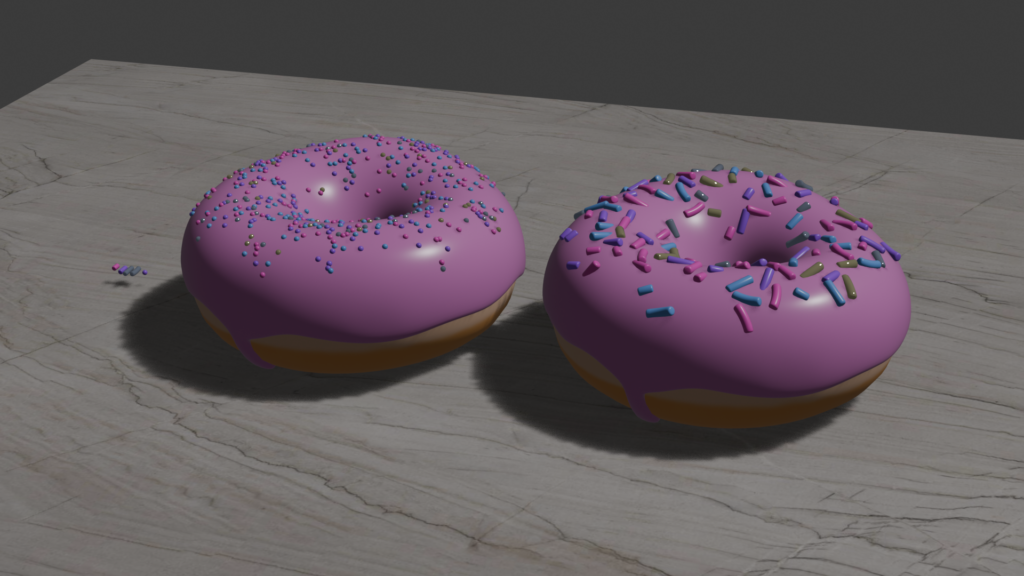
Today I was able to give my sprinkles some colour and learn how to light a subject properly! Honestly my biggest takeaway from this session was how big of a difference lighting makes in the render. It’s honestly night and day.
I linked the materials of my sprinkles together to make the colour and shading settings apply to all of them, and also learned about a couple of new nodes. I used the Colour Ramp node to to assign colours to the sprinkles and the Object Info node to randomize them on the donut. Now, in terms of the actual donut, it’s DONE!! The following steps were about rendering and how to make the donut look pretty.

Finally the rendering process can begin. By default, Blender uses a program called EEVEE to render, which is the fastest, but it also creates the nastiest looking render known to man. SO, instead, I switched from EEVEE to Cycles which essentially renders it in real-time in the viewport. Cycles makes the render much prettier, but it works much slower. When the viewport is moving, the objects appear pixelated and choppy. When you stop moving the viewport around, it gradually sharpens. Below is a comparison between EEVEE and Cycles.


To minimize pixelated choppiness, I switched from my CPU to my GPU for rendering and ticked the “Denoise” option for when the viewport is in motion. Switching to my GPU made the process much faster, but it’s still only moving at the speed of what my laptop’s Apple M1 Pro chip is capable of. If I ever wanted to upgrade, Blender Guru brought my attention to one site where Blender users can label which chip they’re using and how fast it renders their scenes. This information can be found on Blender’s Open Data Benchmark page and essentially ranks the top chips available on the market.
With rendering settings in play, I learned a bit more about how to use the camera. Specifically, I learned about a feature that allows you to control the camera and viewport as if it were a video game. Hitting Shift+~ (tilde key) allows you to move around with the WASD keys. Once you like where your view is at, left clicking once will exit that mode. For people who are accustomed to gaming on a PC, this makes moving the camera around a LOT easier.
Next up was lighting. When light hits an object in real life, it scatters it a bit inside before leaving the object again. Sometimes, this bounces that light onto the surface of objects close by. To replicate this, I applied subsurface scattering to the icing of my donut. This made the lighting appear much softer and gave the donut a more colourful, realistic tone. We can see what the shadows looked like before and after this feature was implemented below:


I also applied it to my sprinkles! This made the lighting more coherent overall and looks AMAZING.


I’m amazed at how much better everything looks with the proper lighting implemented. I have linked the video I used for this part of the tutorial below, which is once again made by Blender Guru.